

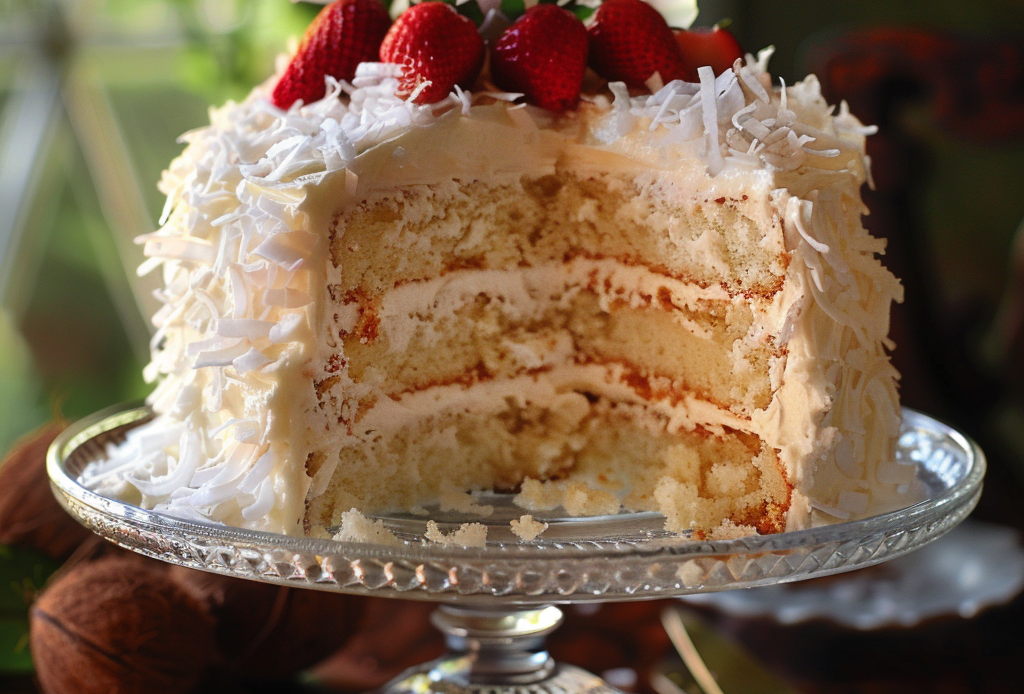
Did you know coconut desserts make over $2.3 billion a year in the U.S.? This makes coconut a top choice for baking. Imagine making a coconut cake mix that’s easy yet stunning. This guide shows how to turn a simple cake mix into a coconut dream cake.
It’s perfect for birthdays, holidays, or when you just want something special. Whether you’re short on time or love trying new flavors, we’ve got you covered. Learn how to make your cake as good as a bakery’s without the fuss.
Find out how to get the right texture, add lots of coconut flavor, and make frostings that wow. Every slice will be a celebration.
Key Takeaways
- Coconut cake mixes cut prep time by up to 40% while boosting flavor intensity.
- Professional-grade fluffiness comes from precise mixing techniques highlighted here.
- Simple ingredient swaps turn basic mixes into layered coconut coconut cake layers.
- Expert-approved frosting methods prevent sogginess and enhance presentation.
- No baking failures: Troubleshooting steps ensure consistent results every time.
Why Coconut Cake Mix Is Your Secret Weapon
When life gets busy, baking a moist, flavorful coconut cake shouldn’t feel like a chore. A coconut cake mix makes it easy and delivers great results. Here’s how it changes your baking:
Time-Saving Benefits for Home Bakers
- No more sifting flour or counting teaspoons of salt.
- Ready in minutes—just add eggs, oil, and water.
- Perfect for last-minute celebrations or weeknight desserts.
Consistency in Results Every Time
Commercial mixes have the right mix of ingredients like coconut flakes and sugar. This makes basic coconut cake always moist. No more worrying about dry ingredients—every batch turns out even and rich.
Flexibility for Customization
Start with a coconut cake mix as your base. Add your own touches:
- Shaved coconut for extra crunch
- Lime zest for tangy contrast
- Chocolate chips for a decadent twist
It’s the perfect base for your creativity. You can try new things without losing texture.
Essential Ingredients for the Perfect Coconut Cake
Making a coconut cake with cake mix is more than just opening a box. Each ingredient brings something special. Here’s what you need for a moist and tasty coconut cake.
- Cake Mix: Begin with a boxed coconut cake mix from brands like Betty Crocker or Duncan Hines. This is your foundation.
- Coconut Varieties: Add shredded or flaked coconut for a crunchy texture. Use coconut milk for moisture and coconut extract for a sweet scent. Choose unsalted butter or oil for richness and texture.
- Liquids: Eggs help bind ingredients. Oil or butter add moisture. Yogurt or sour cream can make it tender without changing the taste.
- Flavor Enhancers: Vanilla or almond extract add depth to the coconut flavor. They balance sweetness without overwhelming the cake.
| Ingredient | Role | Substitution Options | Premium Option |
|---|---|---|---|
| Coconut Milk | Moisture and coconut flavor | Almond milk (for dairy-free) | Canned full-fat coconut milk |
| Shredded Coconut | Texture and taste | Cocoa nibs (for texture without coconut) | Toasted coconut flakes |
| Oil | Moisture and crumb softness | Applesauce (for reduced-fat versions) | Pure coconut oil (adds coconut flavor) |
Premium ingredients like extracts or fresh coconut milk can make a big difference. But, you can also use budget-friendly options like store-brand extracts. Always check the expiration dates on your mixes for the best results. Be careful with substitutions to keep your coconut cake tasting like a bakery classic.
Equipment You’ll Need for Baking Success
Every great coconut cake starts with the right tools. Even if you’re using a coconut cake mix, the right equipment ensures your baking process runs smoothly from mixing to decorating. Let’s explore what you’ll need to succeed.
Must-Have Baking Tools
These essentials are non-negotiable for any baking project:
- Cake pans: Choose round or square pans for layer cakes or a bundt pan for a showstopper. Non-stick options prevent sticking, especially with coconut’s oils.
- Electric mixer: A hand or stand mixer ensures the coconut cake mix blends thoroughly, avoiding lumps.
- Measuring cups and spoons: Precision matters—use them to measure the mix and wet ingredients accurately.
- Mixing bowls: A large bowl for mixing and a smaller one for wet ingredients like eggs and milk.
- Cooling rack: Lets your coconut cake cool evenly without sogginess.
Optional Equipment for Enhanced Results
These tools aren’t required but improve results:
| Tool | Function | Why It Helps |
|---|---|---|
| Cake strips | Wrap around pans | Prevents domed tops for flat coconut layers. |
| Offset spatula | Frosting tool | Smooths frosting on coconut cakes effortlessly. |
| Cake turntable | Decorating aid | Eases precise decoration on layered coconut cakes. |
| Microplane grater | Shreds fresh coconut | Adds texture to homemade coconut cake mix variations. |
Invest in optional tools gradually as your baking skills grow. Start with the basics and upgrade as needed to perfect your coconut cake.
Step-by-Step Guide to Preparing Your Coconut Cake Mix
Mastering your coconut cake mix starts with precision. Follow these organized steps to ensure a flawless result every time.
Preparing Your Workspace and Ingredients
- Preheat your oven to 350°F (175°C) and line two 9-inch pans with parchment paper.
- Measure all dry ingredients from the coconut cake with cake mix package and set them near your mixer.
- Bring eggs, milk, or oil to room temperature to prevent lumps in the batter.
Mixing Techniques for Maximum Fluffiness
- In a bowl, cream butter and sugar until light and fluffy using an electric mixer on medium speed.
- Add eggs one at a time, mixing 30 seconds after each addition.
- Gradually blend in dry ingredients alternating with milk, ending with the coconut cake mix packet contents.
- Stop mixing once combined—overmixing causes dense texture.
Baking Times and Temperature Guidance
Refer to this table for precise baking parameters:
| Pan Type | Temperature | Bake Time |
|---|---|---|
| 9-inch round | 350°F (175°C) | 25–30 minutes |
| 8×8-inch square | Same | 22–27 minutes |
Insert pans into the oven’s center rack. Use a toothpick to test doneness—insert it into the center; if it comes out clean, it’s ready. Let layers cool in pans 10 minutes before transferring to a wire rack.
Adding Extra Coconut Flavor: Transform Basic Mix to Coconut Coconut Cake
Make your basic coconut cake stand out with these tips. Start by replacing water with canned coconut milk for a creamy taste. Add ¼ cup of cream of coconut to the batter for extra sweetness.
- Add ½ teaspoon natural coconut extract (not imitation) to amplify aroma.
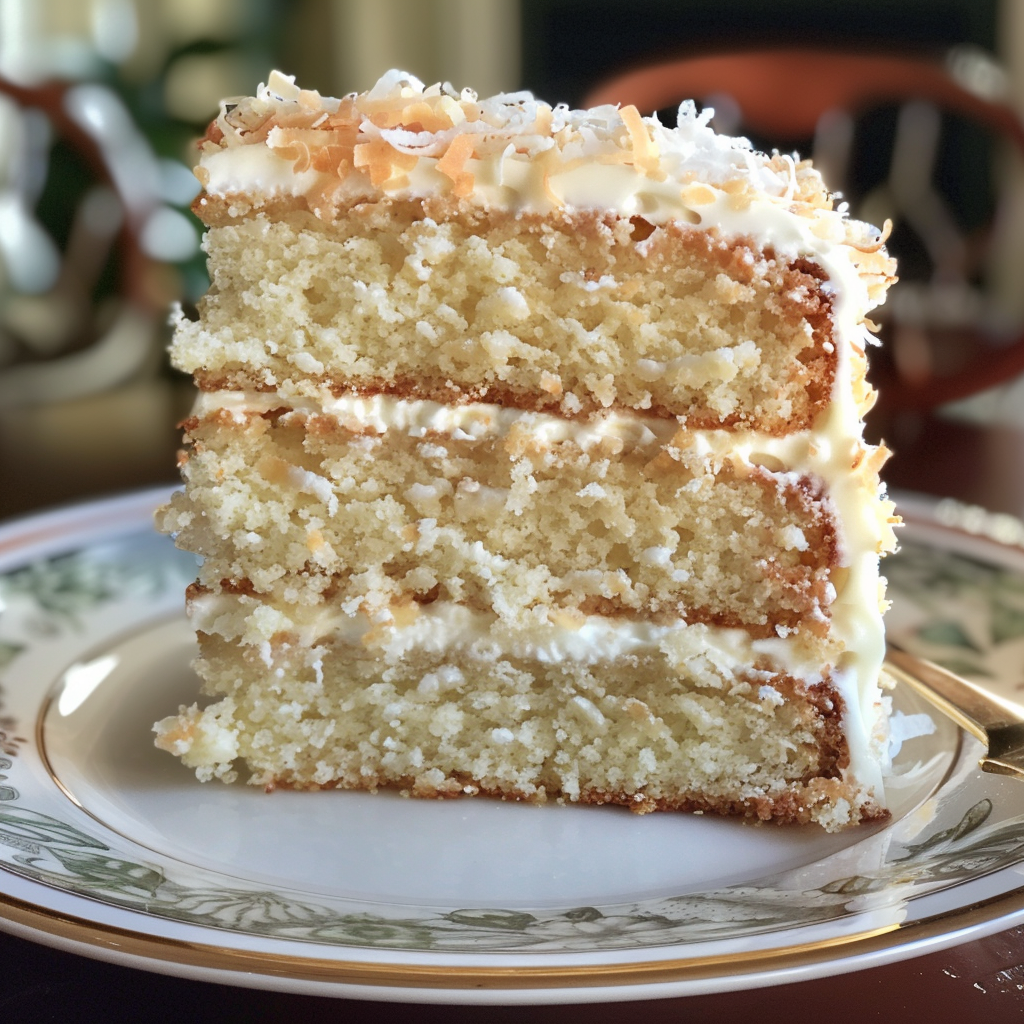
- Stir in ½ cup lightly toasted shredded coconut for a toasted nutty crunch.
- Brush cooled cake layers with a coconut syrup (equal parts sugar and water simmered with coconut milk) before frosting.
Natural extracts give real flavor, while artificial ones add sweetness. Mix both for a balanced taste. Start with ¼ teaspoon of extract and adjust as needed. For those who love coconut, double the coconut flakes and add another syrup brushing. These changes turn any mix into a coconut coconut cake full of tropical flavors.
Frosting Options That Complement Your Coconut Creation
Finishing your coconut cake with the right frosting makes it even better. You can choose from rich, tangy, or light frostings. These options will make your coconut coconut cake stand out.
Classic Coconut Buttercream
Begin with butter, powdered sugar, and coconut extract. Mix until it’s fluffy. Then, add shredded coconut for extra texture. Remember to sift the powdered sugar to avoid lumps.
For a shiny finish, add a teaspoon of coconut milk. This will make your frosting look amazing.
Cream Cheese Frosting with Coconut
Start by beating cream cheese and butter until smooth. Then, mix in coconut flakes and vanilla extract. This frosting is tangy and balances the cake’s sweetness.
Chill it for 15 minutes before piping. This will help it firm up and look great on your cake.
Whipped Topping Alternatives
- Coconut Whipped Cream: Chill coconut milk overnight, then whip the thickened cream with sugar and extract.
- Marshmallow Frosting: Use aquafaba (chickpea liquid) or egg whites for a vegan option, folded with coconut syrup.
- No-Churn Options: Use store-bought whipped topping stabilized with gelatin for a quick, light spread.
“Balance is key—your frosting should enhance, not overpower, the coconut flavor of the cake.” — Executive Pastry Chef Maria Torres, Coconut Bakes Magazine
Try out frostings in small batches first. Store leftovers in airtight containers at 40°F or below. For piping, stiff frostings like buttercream work best. Use a piping bag with star tips for fancy swirls.
Decorating Techniques to Make Your Cake Stand Out
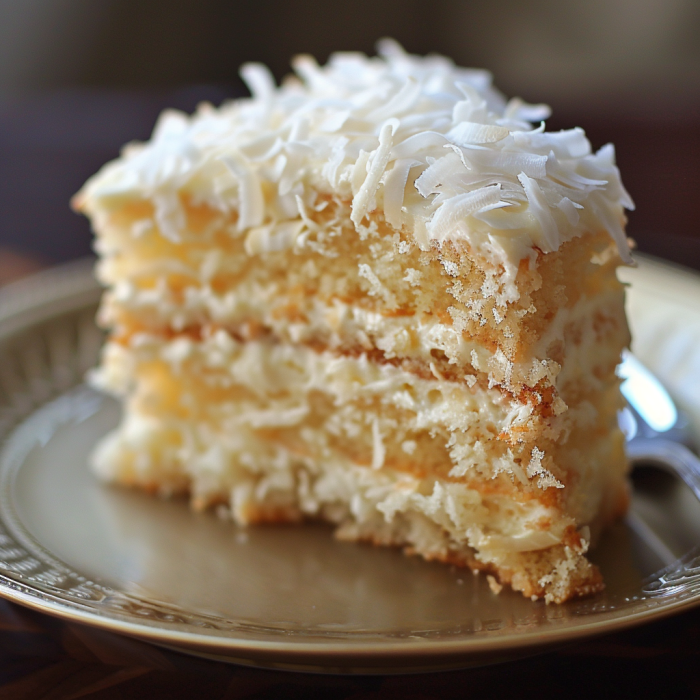
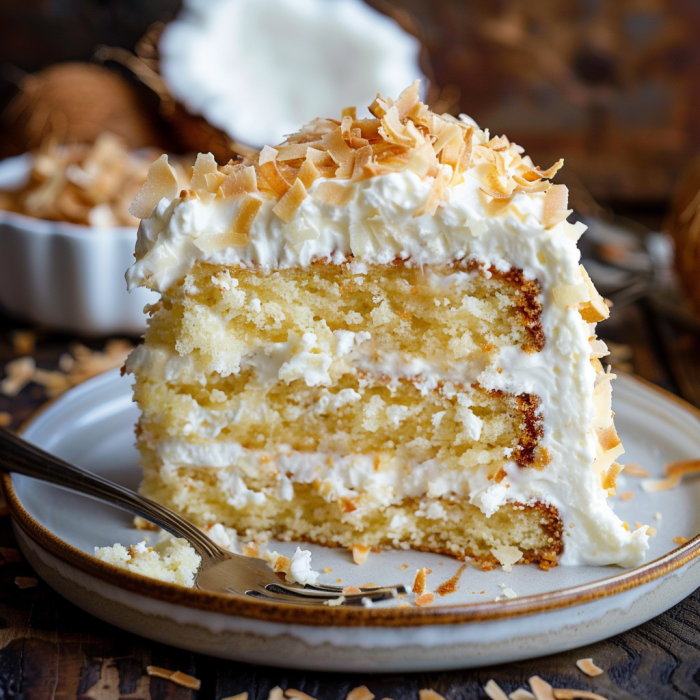
Turn your basic coconut cake into a masterpiece with these simple decorating tips. Start by pressing shredded coconut into the frosting on the sides for a rustic vibe. Or, sprinkle it lightly on top for a soft finish. For a striking contrast, mix toasted coconut with untoasted flakes.
Here are ways to boost your coconut cake:
- Press coconut firmly into wet frosting for a smooth, textured layer.
- Create geometric patterns with a fork or knife dragged through coconut-dusted frosting.
- Drizzle melted chocolate or caramel to anchor coconut garnishes in place.
Try natural dyes to color coconut flakes. Use turmeric for yellow or beetroot powder for pink. Test colors on scrap frosting first. When piping messages or borders, mix 1-2 tablespoons of finely chopped coconut into buttercream. This adds subtle texture without overpowering the frosting.
| Technique | Method | Visual Impact |
|---|---|---|
| Coconut Coating | Roll layers in coconut while frosting is tacky | Uniform, snowy finish |
| Swirl Accent | Layer light and dark coconut shreds in frosting swirls | Dimensional, layered pattern |
| Edible Garnish | Arrange pineapple slices or candied lime wheels around the base | Colorful tropical contrast |
Add a maraschino cherry in the center or a dusting of lime zest for extra flair. Store unadorned cakes until you’re ready to decorate for the best look.
Common Mistakes to Avoid When Using Coconut Cake Mix
Baking the perfect coconut cake with cake mix needs careful attention. Here are tips to avoid common mistakes that can ruin your cake.
Mixing Problems and Solutions
Getting the batter right is key:
- Overmixing the batter makes it tough. Stop mixing once the dry ingredients are just combined.
- Undermixing leaves flour pockets. Mix until most lumps are gone, but some texture is fine.
- Cold ingredients mess with emulsions. Warm eggs and milk to room temperature before mixing.
Baking Troubleshooting Guide
Even with a great batter, problems can still happen:
- Sunken center? This is from overmixing or using pans that are too small. Use pans that match the recipe’s size.
- Edges browning too fast? Try baking at a lower temperature by 25°F and rotate the pan halfway through.
- Cake sticking to the pan? Use parchment or grease with coconut oil for easy removal.
Frosting and Finishing Errors
Finishing touches are important for a great look:
- Coconut flakes sliding off? A thin frosting layer first helps keep toppings in place.
- Frosting too runny or stiff? Add a little milk or powdered sugar to adjust it slowly.
- Storage mishaps? Wrap tightly in parchment and keep at room temperature for up to 2 days.
Remember, mistakes are part of the learning process. Adjust as you go and test each step of your coconut cake mix.
Serving Suggestions for Your Coconut Cake
Make your coconut cake even better with these serving tips. They’re perfect for parties or just a cozy treat.
Perfect Pairings and Accompaniments
Find flavors that match your coconut cake’s sweet taste. Try these:
- Drinks: Enjoy iced hibiscus tea or coconut milk lattes. For a party, add coconut rum to drinks.
- Sides: Mango slices or passionfruit compote add tropical flavors. Coconut sorbet is a great match too.
- Seasonal twists: Add fresh berries in summer. In winter, caramel sauce adds warmth.
Occasion-Specific Presentation Ideas
Change how you serve your cake for different events:
- Formal dinners: Use edible flowers and mint for a fancy look.
- Casual gatherings: Cut into squares and serve on a wooden board with fruit.
- Celebrations: Create a tiered cake with shredded coconut for a base.
- Portable options: Make mini cupcakes with chocolate-dipped bases for parties.
Keep leftovers in a sealed container. Serve at room temperature for the best taste. Adjust slice thickness for different occasions.
Storage Tips to Maintain Freshness and Flavor
Keeping your coconut cake fresh and tasty is key. Wrap unfrosted layers in parchment paper before frosting. For frosted cakes, use an airtight container at room temperature for up to 24 hours. Stay away from sunlight and heat.
- Refrigeration: Wrap your basic coconut cake tightly in plastic wrap, then in a sealed container. Keep it for no more than 3 days. If needed, separate layers before serving.
- Freezing: Double-wrap layers in plastic wrap and foil, and label with dates. Frozen cakes can last up to 3 months. Thaw at room temperature for 4–6 hours before serving to avoid moisture.
- Shredded Coconut Care: Remove any loose coconut toppings before refrigerating. Reapply just before serving to prevent sogginess.
If using perishable frostings like cream cheese, refrigerate within 2 hours of baking. Always check containers for freshness and discard if mold appears. For the best taste, serve within 12 hours of making. But, proper storage can keep it tasty up to 3 months when frozen right. Adjust storage based on your event timeline for the best texture and taste.
Conclusion: Enjoying Your Homemade Coconut Cake Creation
Now you’ve learned how to make a coconut cake that’s as good as store-bought ones. Every step, from mixing to frosting, adds to the taste and texture. You can choose from classic buttercream or try something new, making it your own.
Baking with a coconut cake mix is more than just easy. It’s about being creative. You can adjust the sweetness, add shredded coconut, or get creative with decorations. Even small changes can make a big difference. Share it with your loved ones, bring it to parties, or enjoy it by yourself. The fun is in making it and enjoying it.
As you keep baking, you’ll get better and better. You can store leftovers and try new things. Making a simple mix into a delicious treat shows that homemade baking is easy and rewarding. Every bite of your coconut cake is a sign of your skill and creativity. Take pride in making something special and delicious.
FAQ
What is the best way to enhance a basic coconut cake mix?
To make a basic coconut cake mix better, add coconut milk, cream of coconut, and coconut extract. Shredded coconut adds texture and flavor. You can also make a coconut simple syrup to brush between layers for extra moisture and richness.
Can I use a different flavor of cake mix for my coconut cake?
Yes, you can use vanilla or yellow cake mix instead of coconut. Just remember to add coconut flavoring and extra coconut ingredients. This will help get that coconut taste and texture right.
What tips do you have for storing coconut cake?
Keep your coconut cake fresh by storing it in an airtight container at room temperature for up to two days. If it has cream cheese frosting, refrigerate it. For longer storage, wrap it tightly and freeze it. Thaw it in the fridge overnight when you’re ready to serve.
How can I ensure my coconut cake doesn’t dry out?
To keep your coconut cake moist, don’t overbake. Check for doneness with a toothpick. Adding coconut milk or yogurt to the mix also helps keep it moist.
Are there any common mistakes to avoid when using coconut cake mix?
Don’t overmix or undermix the batter. This can mess up the cake’s texture. Follow the mixing times and let your ingredients warm up to room temperature before mixing.
What frosting options pair best with coconut cake?
Coconut buttercream is a classic choice, but cream cheese frosting adds a tangy twist. Coconut-infused whipped cream is also a great option for a lighter finish.